coral me crazy

coral me crazy

Wednesday, October 29, 2014

Kitchen Sneak Peak

Well, in the last post, I said that we had some very exciting news happening in the following couple of weeks.  Needless to say, the drama and stress of building a house took over again and delayed this post.  Unfortunately, we have been hashing it out with our builder recently but, so far the good has prevailed and we are back on track.

top: honed travertine countertops
bottom: potential pantry wallpaper
With that said.....the exciting news is that the kitchen cabinets (aka, my babies since this process began) have finally been delivered and installed. The process of designing my dream kitchen (and yes, I have big dreams) began April 4th when we had our first consultation at R Cabinet Studio. I came equipped with the "house inspiration binder," several samples, and, of course, I dressed in the dream kitchen color pallette to set the mood (hehe). We talked about layout, style, and must haves. We then met several times after that (April 24th, June 3rd, and July 24th) for further designing, and plan revisions. Then, some additional meetings in August and September to sign off on drawings and contracts. One of the greatest moments was the first time we got to see the kitchen we had been envisioning in our heads go three dimensional on the computer screen during our June consultation. Some changes were made since but it as a great sneak peak and got us extremely excited!
The cabinets are now light gray with a white island and the appliances are stainless.
There is currently no door on the pantry to expose the window and wallpaper
(we will see how that goes...)
The window over the sink is about double that size.
We also went with open shelving to the left of the sink.

We went with maple doors painted a light gray in a transitional recessed style with moulding and a complimentary white island with furniture legs and open shelving. The hood was custom made locally with doors to match the cabinets. We also had a lower cabinet installed in the pantry for the coffee maker and toaster oven. I wanted the cabinets to go all the way to the ceiling because I hate having to decorate and dust that open ledge that many cabinets leave between them and the ceiling. I absolutely love the storage that the upper cabinets offer and the crown moulding adds a nice sophisticated finishing touch (I think even Adam will need a step stool to reach the top shelf of these). We went with a gorgeous fireclay farmhouse sink in white and will be installing a backsplash of white subway tile in a herringbone pattern. The white sink and tile will really pop against the gray cabinets!

After much planning and anticipation, the cabinets were finally delivered on September 25th! Even though they were still pretty much encased in cardboard boxes, we were ecstatic! This was also the day that we had electricity in the house for the first time. Something about being able to flip that switch at night and have our home all lit up made it feel more real than it had this entire process. To say we were giddy would be an understatement. I remember when Adam flipped that switch. I immediately had this overwhelming feeling of happness. I could not stop smiling (and jumping around hehe). After all the hard work and and hurdles that we had to jump over, it all felt worth it and we could see our future together in our home!

Tada! They are finally here! 
Let there be light!
Unfortunately, several of the doors and boxes arrived damaged. R Cabinet Studio took great care of us though, and had replacement pieces ordered and on their way to us immediately. The replacements arrived the following week and our wonderful installers finished installing the lowers, uppers, doors, island crown moulding, and moulding under the wall cabinets. They will return to install the hardware, kick plates, and legs for the island overhang once the wood floors and countertops are installed.


Spot for refrigerator and beverage center/wine cooler
Pantry cabinet 
Back wall with range hood and spot for gas cooktop 
Ready for countertops! The sink and dishwasher are to the left, cooktop in the back, wall oven and microwave on the back right, pantry, and the beverage center/wine cooler, and refrigerator with wine rack above.
Whatever wallpaper I put in the pantry will go on the back of the shelves in the island.

Countertops, open shelving, hardware, and appliances still to come. Stay tuned for the finished product. This room is truly the centerpiece of our interior. Until next time...

Tuesday, September 23, 2014

August and September Updates

Attic ladder - now white (Aug 28)
Like I said in the previous post, I have shamefully been absent for a month during which it seems like a ton has been done (it could just be the overwhelming feeling of needing to catch up that I feel). As you saw in the previous "Oops" post, the shake shingle was added, the exterior trim work was completed, and the interior and exterior of the home was painted. The built ins were also installed as well as the ladder for the walk around attic in the garage. The greatest update though, in my opinion, has been the completion of the tile in the bathrooms. We have shown y'all the floor tile in all the rooms but now, the showers are complete (sans the grout which is held until the end). Our master shower was definitely not something that gabbed our attention in the drawings as we sacrificed the hidden, doorless, double shower head design for our his and hers closets (a decision, I will never regret). However, after we designed the stripes concept and found our mint penny tile, I was excited. And, I must say, seeing it transform from a vision in my head to real life is beyond anything I could have imagined. Our unassuming master shower is now one of the our favorite components of the house. Our tile guy even said he was going to put it in his portfolio (success)!!!

Niche cutout in guest shower (Aug 7). 
Master shower with beveled white subway tile stripes going in
(Aug 8)
Master shower stripes with beveled white subway tile and mint green penny tile stripes
(Week of Aug 18)
White penny tile shower floor
(the green were too  glossy for the floor and did not come in matte finish)
(Week of Sept 8)
Guest bath shower with white subway
(Week of Aug 18)
We also completed our task of picking out all the lighting fixtures for the home. we picked the ceiling fans for the porches and the bedrooms (we eliminated the living room fan for now because I just couldn't find one that I could live with in a common space. At least not that was our idea of reasonably priced), the exterior garage carriage lights and front entry pendant, the foyer pendant, the dining room chandelier, the kitchen island pendants, and the bathroom vanity lights.

Left: Exterior entryway pendant. Right: Garage carriage lights
Top left: Foyer capiz shell pendant. Top right: Kitchen island pendants
Bottom left: Dining room chandelier. Bottom right: Bathroom vanity
Now that we are also almost through September, I will also add the September updates in this post so that I can finally be caught up...sort of! The air conditioning was hooked up and installed September 11th as well as the utilities meter. The air conditioner is not turned on yet but is ready for the kitchen cabinets when they arrive. This also means that we can order our engineered wood floors (which we are now on the hunt for AGAIN.... our original pick has been discontinued and is no loner available in the quantity we need. I knew things had been going too smoothly lately...).

A/C unit. This will be creatively hidden at some point
Utilities meter
They also installed the front door on September 16th, which is not yet painted, and the carriage style garage door on September 19th.

Our unpainted front door and side panels. This is 8ft tall too of course.
No ducking for Adam!
Entryway with front door.
Ignore the heinous numbers, they are temporary for the city
Carriage style garage door without the bracket 
Whole house view with front and garage doors

We have some VERY exciting news coming up this week and next. Stay tune! Until next time...

Tuesday, September 16, 2014

Labor Day Weekend Scores

Labor Day weekend was a fun filled exciting time for Adam and I and for the house. My parents got to come up for an extended weekend to see the house progress and make a special delivery, we made some great house finds, and we got to revisit our old stompin' grounds. My parents have not seen the house since the framing stage so it was very exciting to get to tour them through and show them how far it has come. During the last week of his summer break, my dad helped us with the oyster shell outdoor fireplace by bringing 5 gallon buckets down to the local raw bar for them to fill up. He would then pick them up at 10:00 at night which, if you know my father, is equivalent to me having to wake up at 4 am (something he does daily with a smile - yuck), clean them the next day, and let them dry out in the sun. He tried to recruit the neighborhood kids for a small incentive per shell cleaned but that only lasted one day. Luckily for Adam and I, my dad was on summer break and is always willing to help us out! This weekend, the 1,000+ oyster shells were delivered to us. I am now a very happy coastal crafter!

Neighborhood kids on oyster duty day 1 
Dad, the master oyster cleaner on duty days 2-5
So may oysters drying in the sun!
To add to the amazing-ness that is going to be our back porch coastal fireplace, I really wanted a large piece of driftwood for the mantle.  Unfortunately, the only driftwood that is readily found around here is protected on one of my favorite beaches at Big Talbot Island State Park. Thus, you can imagine my surprise when I spotted a large, unprotected piece of driftwood on our local public beach that Friday while we were beach combing. The only problem was that it was still a little water logged (I think it was washed up after the storm the night before) and at least 20ft long. In my euphoric state, I attempted to convince Adam that we could carry it to the nearby boardwalk but Adam was not nearly as on board as I was (or just more realistic depending on how you want to look at it hehe). So, that day we left empty handed. I, however, did not forget the gift that had magically appeared before me that day. When my parents got here that evening, I convinced everyone to go back to the beach, saw in hand, and cut off the 7ft piece that we needed for the mantle. This made the wood manageable to carry and allowed us to leave what we did not need in its natural state on the beach to be enjoyed. I cannot wait to share this next DIY project with y'all!

The remainder of the driftwood after we took our mantle piece 
Adam in front of the remaining wood for a size reference
Our piece for the mantle with the buckets and coolers full of oyster shells.
I can barely contain my excitement!
Totally unrelated to the house part of our fun weekend, Adam, my parents, and I got to go back to the Swamp! We managed to luck into tickets on the 50 yard line 24 rows up after we were called and told that our tickets on the 35 yard line 38 rows up were accidentally released to us for purchase. Unfortunately, the cursed Florida summer rain and lightning caused the game to be cancelled and our tickets refunded. We did get to see the one play of the game from those awesome seats and had a great time tailgating with the fam and indulging in a Gainesville staple: Satchell's Pizza!
Also unrelated to the house, but in line with the "scores of the weekend" theme, Adam and I found a starfish that we have been searching for for years at our local fish store. Meet the newest member of our family...Albert! (He is orange with blue spots).


That Monday, my mom and I decided to do some house shopping while the boys went fishing. I needed some lighting fixtures and mirrors for the bathrooms. We did not find any mirrors but did find a great chandelier for the dining room at World Market for a steal $80. We of course also found some things we were not looking for like this amazing cane print rug at Homegoods. Those that know me know that I am somewhat obsessed with caning. I have been searching for a cane print rug for awhile now and have found very little selection and nothing in my price range. So, once again, I was surprised when I saw it hanging up on the other end of the store in all its cream and navy blue glory. It is 8x10 and will be perfect for the home.  Homegoods has been good to me lately. A few weeks prior to the rug find, I found this $300 dollar lantern on clearance for $30! While my mom and I scored in the shopping front, my dad and Adam scored with some delicious redfish, trout, and flounder! That night Adam made us his famous mango fish tacos...yum!
Top left: Dining room chandelier. Top right: cane lantern
Bottom: Cane rug
Nice catch guys!
Left: chef Adam. Top right: mango fish tacos.
Bottom right: impromptu baked apple biscuit with honey and ice cream
All in all, I would say it was a fun and successful weekend (even if we did not get to see our Gators play).  Until next time...

Monday, September 15, 2014

Oops!

So, to say that I have been a deadbeat blogger is a total understatement. I cannot believe it has already been a month since I have posted. So much has happened in that amount of time. I will try to catch y'all up over the next few days. We last left off with me bragging about our seemingly easy color choices. Well, as you can probably guess by the title of this post, my past as a terrible paint chooser repeated itself. The two days following the last post (August 5-6), the shake shingle was added to the entry way and the house was painted. The seemingly perfect "mantis green" that we had picked for our accent color was overwhelmingly loud to say the least. Fortunately, our painter knows what he is doing and stopped after just one coat. After turning onto the street and being able to spot the color from the other end of the neighborhood, Adam and I instantly knew that oops number one had been made. We spent the following two days testing out new options from Benjamin Moore "fresh mint" and "minty green" to Sherwin Williams "sea salt." We also tried lighter versions of Benjamin Moore "revere pewter" (which is what the siding is painted), before deciding to paint the shake "revere pewter" to match the siding. We are going to add our accent with a mint door which we think will be Benjamin Moore "leisure green."

"Mantis Green" garage shake
Testing new paint colors
Shake shingle re-painted in Revere Pewter"
Front poch and entry
Rear view of the exterior painted
Front view of exterior painted
Front porch wood ceiling painted
Drywalled and painted back porch ceiling

The interior colors did not make it past the first round either (except for one). We decided that the coral we had chosen was more peach than we were going for and thus, resumed the hunt for the most perfect coral (a very difficult feat actually). We eventually decided on Sherwin Williams "ardent coral" at 75%. It is a little intense in a large empty room but I think it is going to look great once the room is designed and furniture is in. I have BIG plans for this room. Stay tuned to see my inspiration and how it turns out...

Coral dining room....Adam is realy taking a leap of faith on me with this one. I hope I pull it off! 
We also started to become concerned that the "pale jade" we had chosen for the kitchen was a little bright despite being so light. We experimented with some other jade/mint colors and really like Sherwin Williams "mint condition." Now that it is on the wall, it may be a little saturated but we will wait to see once the cabinets are in since not much of it will show anyway. We had the pantry painted this color as well although I intend to wallpaper it since we are leaving it doorless to expose the window.

kitchen (it looks al ittle brighter than actual in this pic) and view of sea salt that is in the rest of the house.
View of all 3 colors together
 So, basically all of our paint colors were changed except for two: the revere pewter for the exterior siding and the sea salt for the remainder of the interior. We did manage to pick an awesome interior ceiling and trim color though (Benjamin Moore "white dove" which we love and are not changing. Paint colors... Oops #1!

Our second oops, which I realized a few months ago and have been stressing about regularly, was finally resolved that weekend as well. The plans for the laundry room have the sink on the left hand side closest to the door and the dryer on the left wall as well but farthest from the door. However, during the framing, plumbing, and electrical rough in, our builder requested that we switch the dryer and the sink to make it easier for the plumber. I stated that as long as the dryer would work on that wall then that was fine. I had just gone over a pretty extensive list of "things that need to be done, changed, or fixed" so I was trying to throw him a bone. I should have known better than to deviate from the plan when I had not analyzed the deviation on my own. After the framing and drywall were up, I realized that the side wall was not deep enough for the dryer and the dryer would end up sticking out in to the doorway. Obviously, something that was not remotely feasible. After stressing about bringing this up, we met with our builder and within the next few days, the sink and dryer returned to their original locations per plan and all was well again...for a few days anyway hehe. Laundry room plan deviation...Oops #2!

Laundry room wall torn down and sink and dryer switched
Drywall replaced after switching the dryer and sink
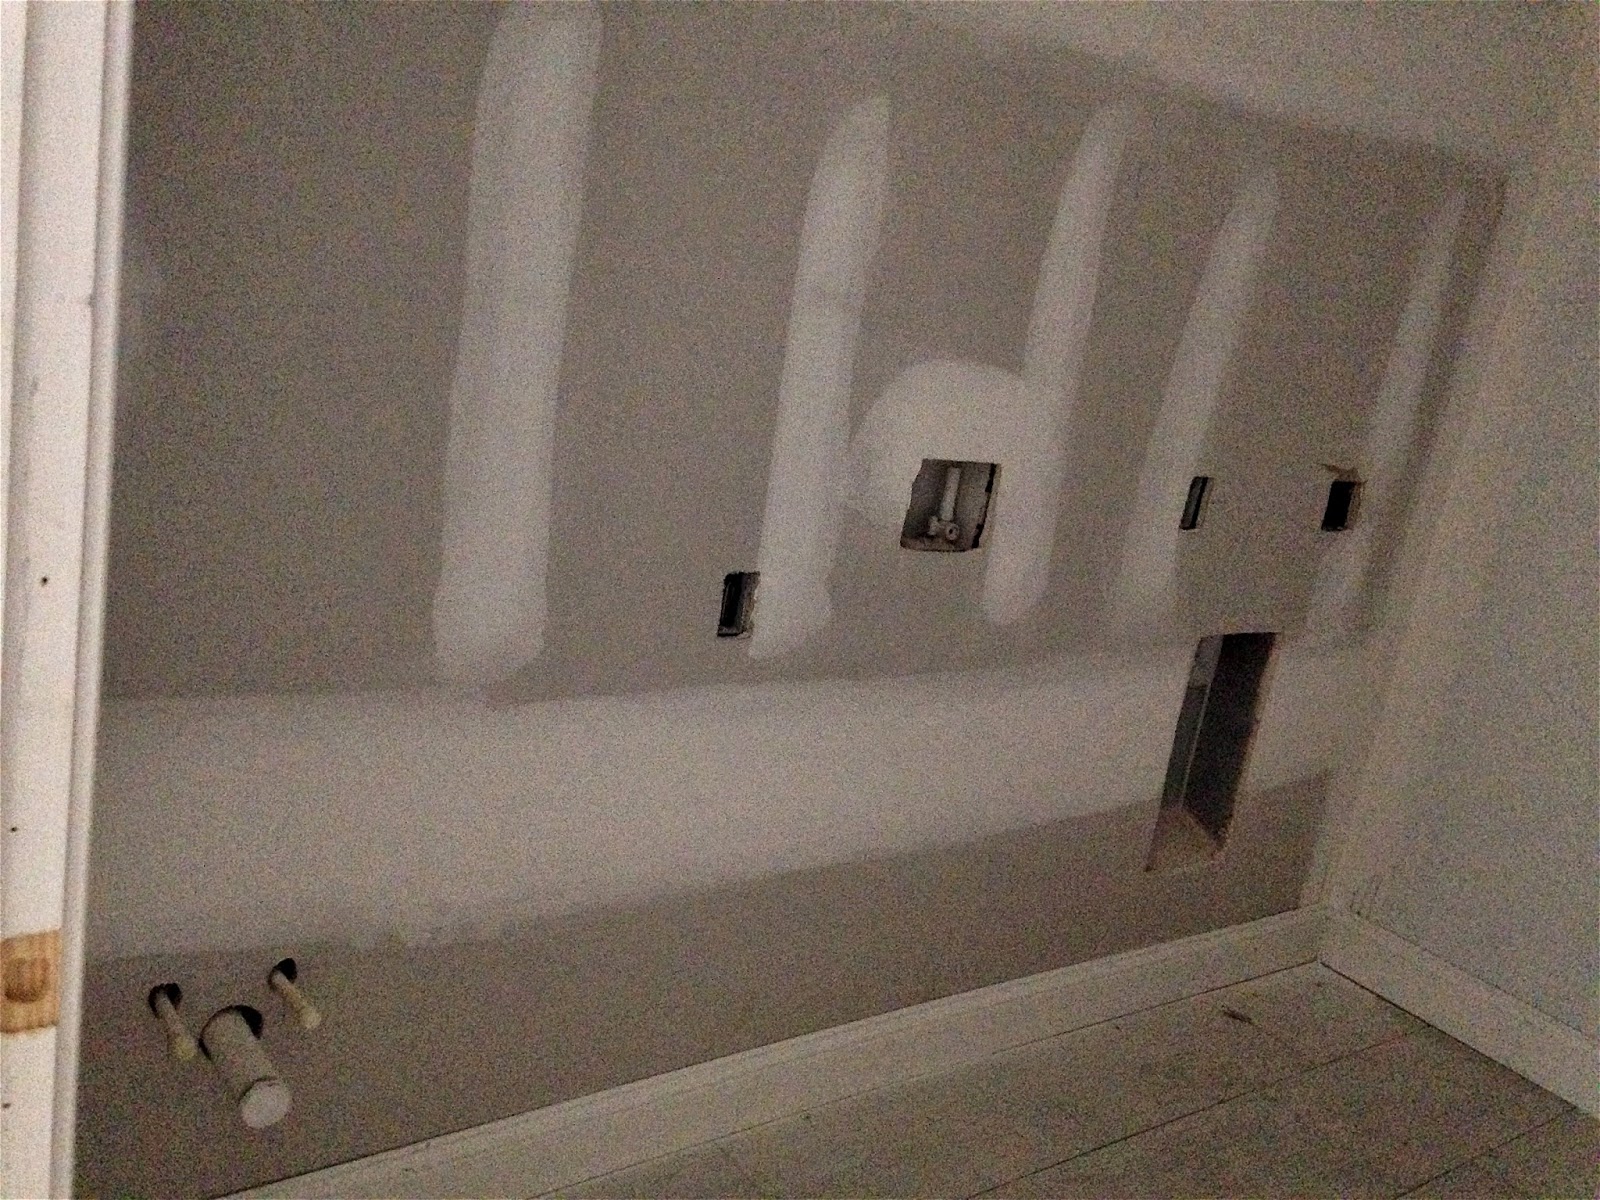
Our third oops wasn't exactly something I am taking the blame for entirely. On our plan, we have built ins marked above the toilet in the guest bathroom. Apparently, "built ins" is not a universal term in the building world (who knew). During the framing process, when I figured the built ins would be framed out, I mentioned them to our builder once I noticed that the framing was complete and they were abset. He assured me it would be fine and he could add them later no problem. Then the drywall went up and was taped and smoothed out and I mentioned them again. Again, I was reassured that it was alright. Finally when the drywall was primed and about to be painted, we mentioned the built ins again and that is when the miscommunication of the definition of "built ins" was discovered. Our builder thought that we were doing a cabinet (to be hung later). Oops! After we clarified our definition of built ins (in that same laundry room meeting the first week of august - that was a rough one) and what we wanted in the room, our builder made sure they were added. I think they came out great! Built in  miscommunication... Oops #3!

Built ins inspiration
Our built ins. The back still needs to be painted


So, the morals of this post are:

  1. Always maintain an open line of communication. Even if you think that something is implied or understood, talk about EVERYTHING! 
  2. When someone else recommends a change, scrutinize it as much as you would your own change
  3. Measure, measure, measure!
  4. Do not be afraid to speak up if you realize that you (or someone else) has made a mistake. It can almost always be fixed and sooner is always better than later.
  5. Paint is tricky. I have no major lesson for this other than buy testers and paint LARGE areas rather than a few strokes. Paint looks completely different in different rooms and on a larger scale. 
  6. Don't stress over paint, it can always be changed so feel free to change it if you are not happy!
Hopefully y'all can learn something from our mistakes. Until next time...